
AWS Cognito
This section will guide you through using AWS Cognito as an OIDC provider for Kubeflow.
See also
Overview
What You’ll Need
- A configured management environment.
- Your clone of the Arrikto GitOps repository.
- An existing Kubernetes cluster.
- A working Rok deployment.
- A working Kubeflow deployment.
- Access to the cluster running services.
- An existing AWS account that has an active subscription.
Procedure
Sign in to the AWS Management Console.
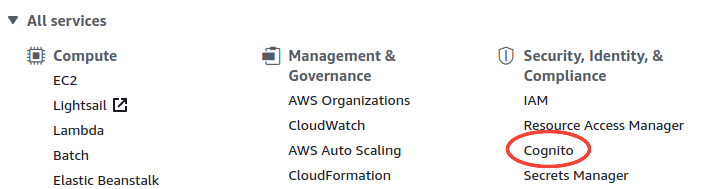
Click on the All services dropdown menu.
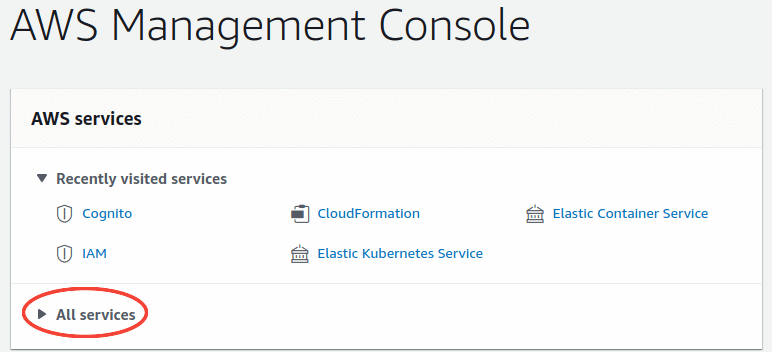
Under the Security, Identity, & Compliance click on the Cognito tab.
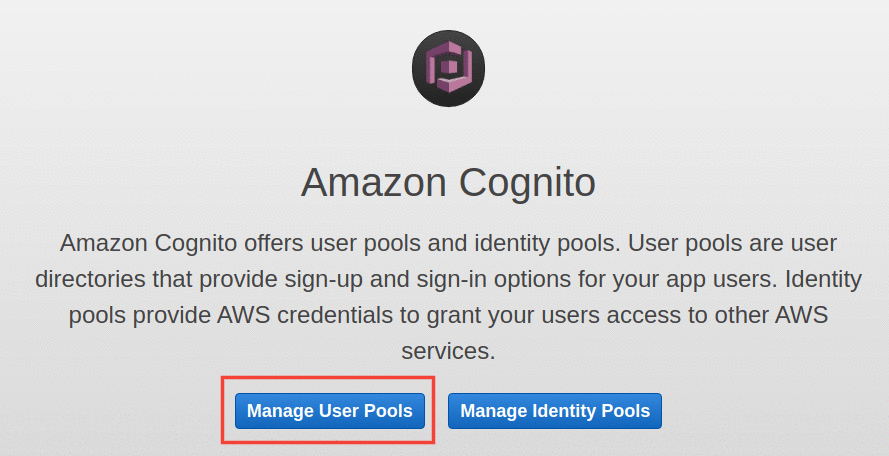
Click on the Manage User Pools button.
Click on the Create a user pool button.

Give a name for your user pool, for example
Kubeflow.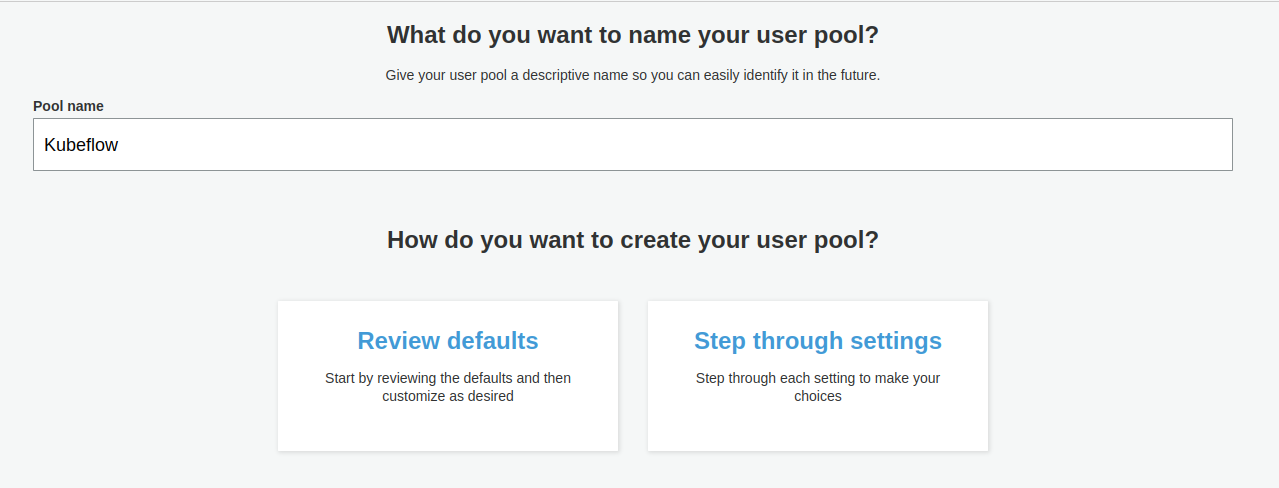
Click on the Step through settings button.
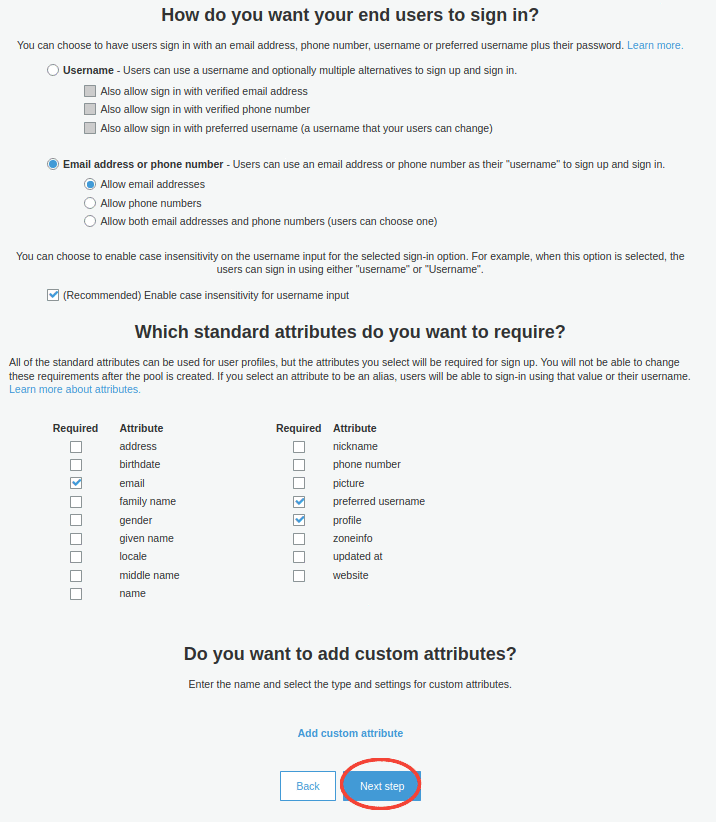
Configure the Attributes of your user pool:
- Select the Email address or phone number with the preset option Allow email addresses.
- Select the following standard required attributes:
email,profile, andpreferred_username. - Click the Next Step button.
Configure the Policies of your user pool:
Select the Only allow administrators to create users option.

Click the Next step button.
Configure the MFA and verification settings of your user pool:
Select the None - users will have to contact an administrator to reset their passwords option.
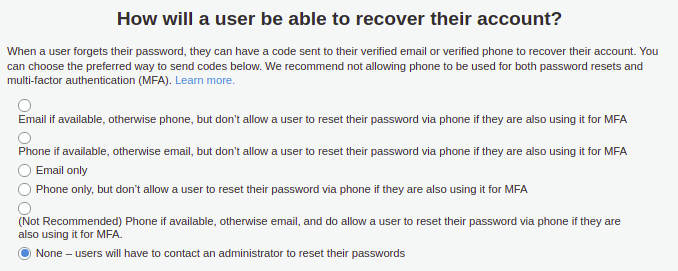
Click the Next step button.
For the next configuration steps click the Next step button until you reach the Review configuration step.
Click on the Create pool button.
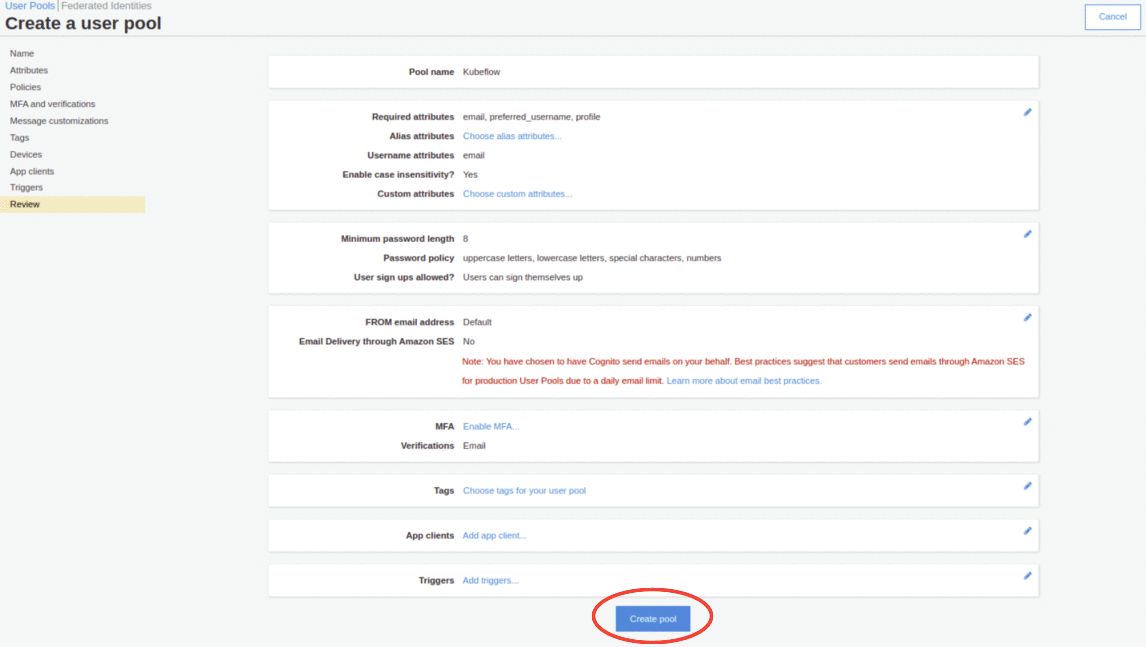
After successfully creating your user pool you will see a summary of your configurations. Take a note of the Pool Id, for example:
us-east-2_UgEiFbZCm.
Under the General settings section, select the App clients tab and click on the Add an app client button.
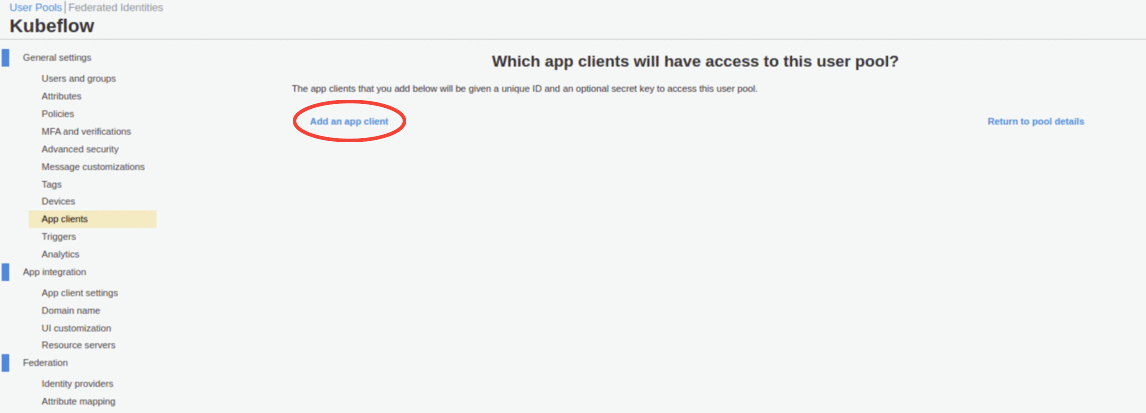
For your new AWS Cognito client application:
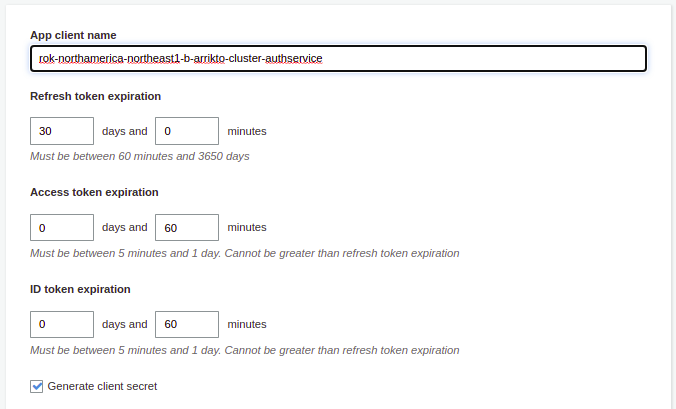
Enter a name of your application
rok-<CLUSTER_REGION>-<CLUSTER_NAME>-authservice, replace:<CLUSTER_REGION>with the region of your cluster, for exampleus-east-2.<CLUSTER_NAME>with the name of your cluster, for examplearrikto-cluster.
Set the desired expiration times for your refresh, access and ID tokens.
Note
The expiration of both access and ID tokens cannot be greater than the refresh token expiration.
Ensure that the Generate client secret option is selected.
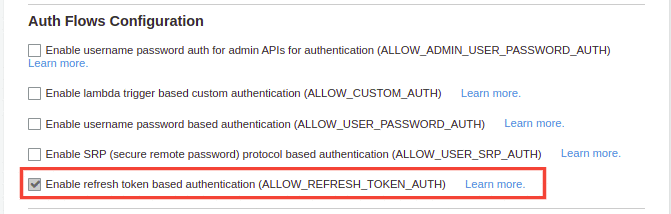
Under the Auth Flows Configuration section, ensure that the Enable refresh token based authentication option is enabled.
Under the Advanced token settings section, ensure that the Enable token revocation option is enabled.

Click on the Create app client button.
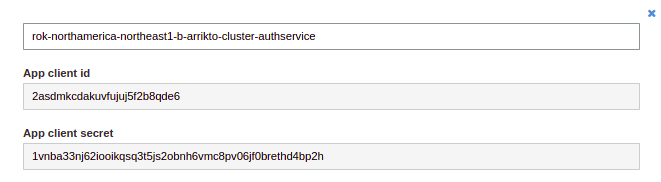
Click on the Show details button.
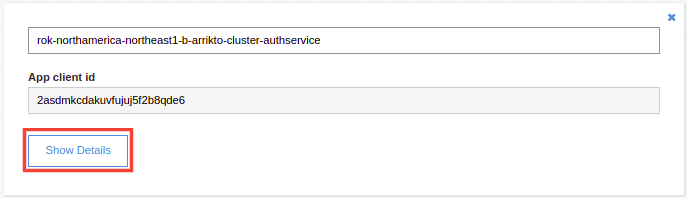
Take note of the App client id and the App client secret. Copy these values to your clipboard, as you are going to use them in later steps.
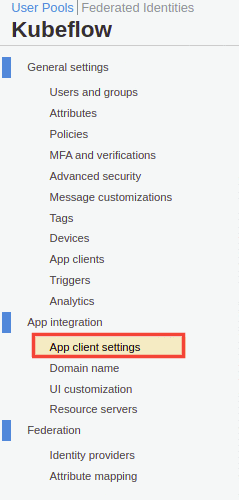
Go to the App integration section and select the App client settings tab.
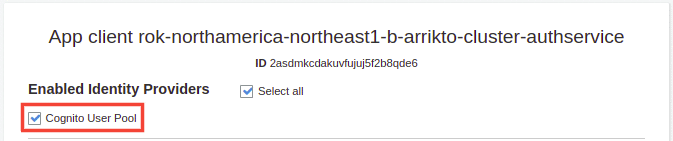
In the Enabled Identity Providers section, enable the Cognito User Pool option.
In the Sign in and sign out URLs section, define the Callback URL(s) as such
https://<FQDN>/authservice/oidc/callback.Replace
<FQDN>with the fully qualified domain name (FQDN) for your cluster, for examplearrikto-cluster.apps.example.com.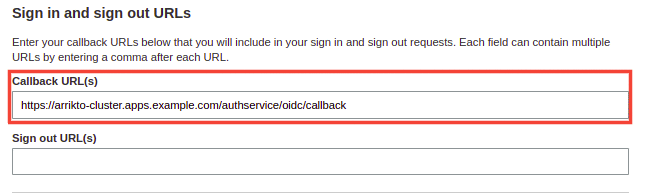
Note
If you have deployed EKF on AWS EKS, you can check the FQDN for your cluster by following the procedure:
Go to your GitOps repository, inside your
rok-toolsmanagement environment:root@rok-tools:~# cd ~/ops/deploymentsRestore the required context:
root@rok-tools:~/ops/deployments# source deploy/env.eks-alb-acmPrint the FQDN for your cluster:
root@rok-tools:~/ops/deployments# echo $EKS_ALB_ACM_SUBDOMAIN
In the OAuth 2.0 section enable the
Authorization code grantflow, and the following OAuth scopes:emailopenidprofile
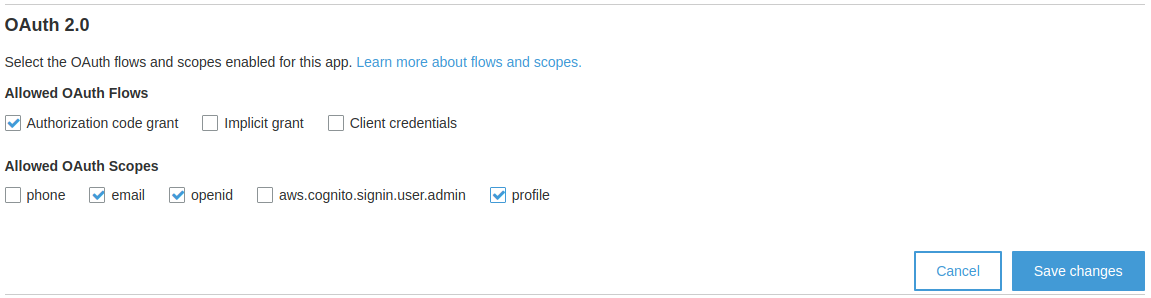
Click on the Save changes button.
In the App integration section, click on the Domain name tab.
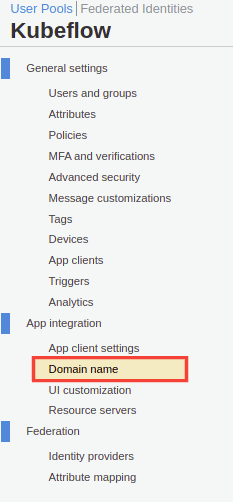
Give a domain name prefix
rok-<CLUSTER_REGION>-<CLUSTER_NAME>-authservice, for examplerok-us-east-2-arrikto-cluster-authservice.
Click the Check availability button to ensure that your domain is unique.
Click on the Save changes button.
Go to your GitOps repository, inside your
rok-toolsmanagement environment:root@rok-tools:/# cd ~/ops/deploymentsSpecify the pool ID of your user pool:
root@rok-tools:~/ops/deployments# export POOL_ID=<POOL_ID>Replace
<POOL_ID>with the value that you copied in step 13.Specify the region of your user pool:
root@rok-tools:~/ops/deployments# export REGION=$(echo $POOL_ID | cut -d _ -f1)Specify the client ID:
root@rok-tools:~/tools/deployments# export OIDC_CLIENT_ID=<CLIENT_ID>Replace
<CLIENT_ID>with the client ID you copied in step 17.Specify the client secret:
root@rok-tools:~/tools/deployments# export OIDC_CLIENT_SECRET=<CLIENT_SECRET>Replace
<CLIENT_SECRET>with the client secret you copied in step 17.Render the AuthService credentials:
root@rok-tools:~/tools/deployments# j2 kubeflow/manifests/common/oidc-authservice/overlays/deploy/secret_params.env.j2 \ > -o kubeflow/manifests/common/oidc-authservice/overlays/deploy/secret_params.envSet the public URL of your EKF installation:
root@rok-tools:~/tools/deployments# export FQDN=<FQDN>Replace
<FQDN>with your installation’s public URL. For example:root@rok-tools:~/ops/deployments# export FQDN=arrikto-cluster.apps.example.comSet the public URL of your AWS Cognito user pool:
root@rok-tools:~/tools/deployments# export OIDC_PROVIDER=https://cognito-idp.${REGION?}.amazonaws.com/${POOL_ID?}Configure AuthService to convert user emails to usernames:
root@rok-tools:~/ops/deployments# export USERID_TRANSFORMERS='[{"matches": "@<DOMAIN>", "replaces": "" }]'Replace
<DOMAIN>with the domain of your organization. For example:root@rok-tools:~/ops/deployments# export USERID_TRANSFORMERS='[{"matches": "@example\\.com", "replaces": "" }]'Make sure to include
\\. With this example domain, AuthService will convert user IDs likeuser@example.comintouser.Note
USERID_TRANSFORMERSaccepts a JSON formatted list of user ID transformation rules with the following format:USERID_TRANSFORMERS=[{"matches": "regex", "replaces": "value" }]AuthService will transform the user ID by finding the first transformation rule that matches
regexand replacing it withvalue.Set the AWS Cognito settings and render the AuthService configuration:
root@rok-tools:~/ops/deployments# export USERID_CLAIM=preferred_username root@rok-tools:~/ops/deployments# export OIDC_SCOPES=profile,email,openid root@rok-tools:~/ops/deployments# export AUTHSERVICE_URL_PREFIX=https://${FQDN?}/authservice/ root@rok-tools:~/ops/deployments# export TEMPLATE_PATH='' root@rok-tools:~/ops/deployments# j2 kubeflow/manifests/common/oidc-authservice/overlays/deploy/params.env.j2 \ > -o kubeflow/manifests/common/oidc-authservice/overlays/deploy/params.envSee also
Commit your changes:
root@rok-tools:~/ops/deployments# git commit -am "Use the AWS Cognito OIDC provider for Kubeflow authentication"Apply the manifests:
root@rok-tools:~/ops/deployments# rok-deploy --apply kubeflow/manifests/common/oidc-authservice/overlays/deployRestart the Pods manually:
root@rok-tools:~/ops/deployments# kubectl delete pods -n istio-system -l app=authservice
Verify
Ensure that the
authserviceStatefulSet is running. Verify that field STATUS is Running and field READY is 1/1:root@rok-tools:~/ops/deployments# kubectl get pods -n istio-system -l app=authservice NAME READY STATUS RESTARTS AGE authservice-0 1/1 Running 0 13sLog in with your AWS Cognito credentials at
https://<FQDN>, where<FQDN>is the public URL of your EKF installation. For example,https://arrikto-cluster.apps.example.com.